Day 3 of Buzzfeed’s No-Added-Sugar Meal Plan!
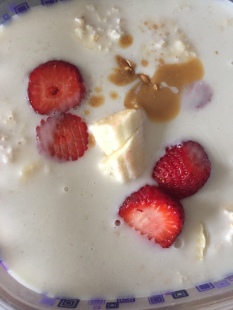
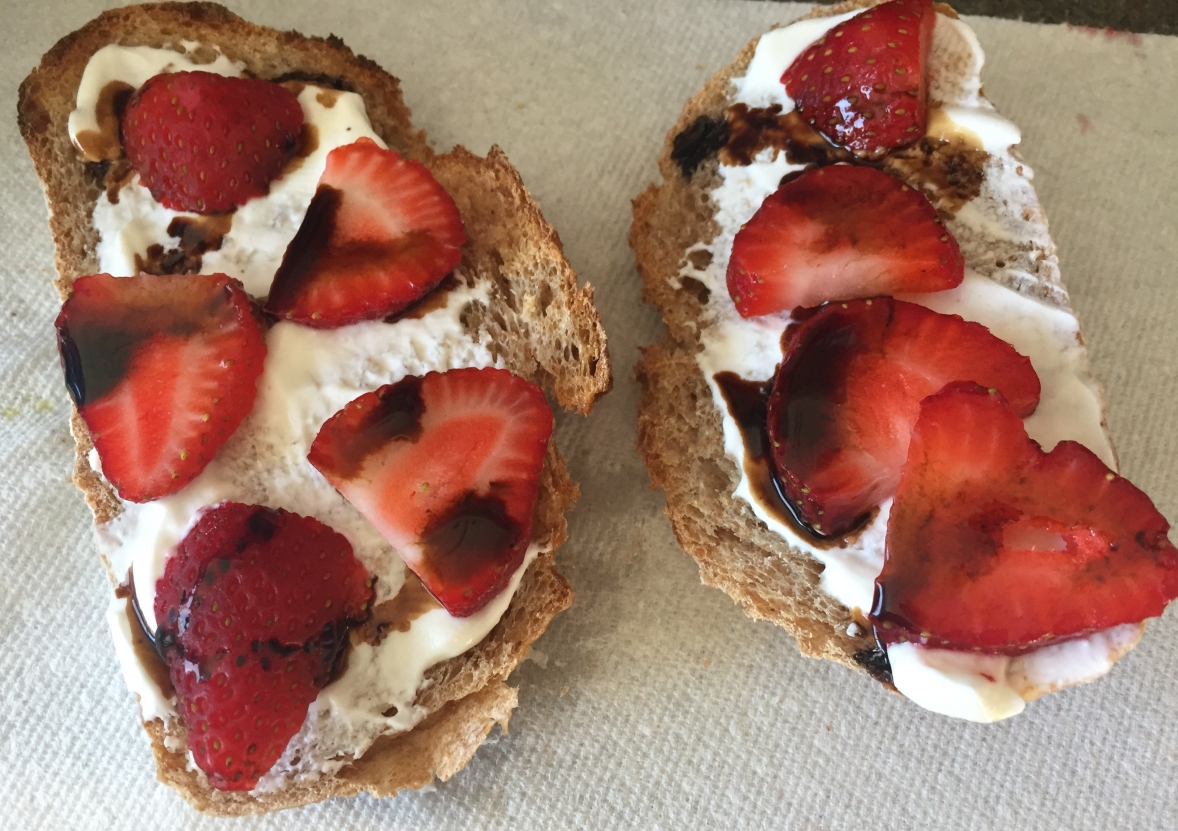
Breakfast – Creamy Peanut Butter Toast with Banana
Prep time: About 5 minutes
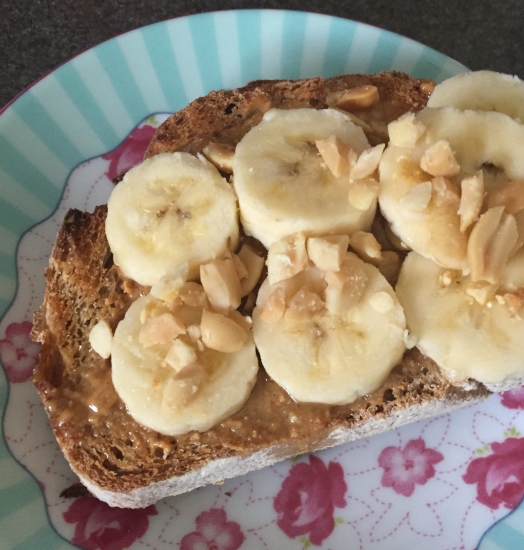
Very good! I’ve made something similar for breakfast before. Usually I drizzle honey on top instead of peanuts, however I found that I didn’t really miss the added sugar!
I used the other half of yesterday’s banana (hm yesterday’s banana – band name?😂), which started to brown slightly but was still good.
I thought this meal was going to remind me too much of Monday’s breakfast toast but really the flavors were so different that it didn’t.
What I would change: Nothing!
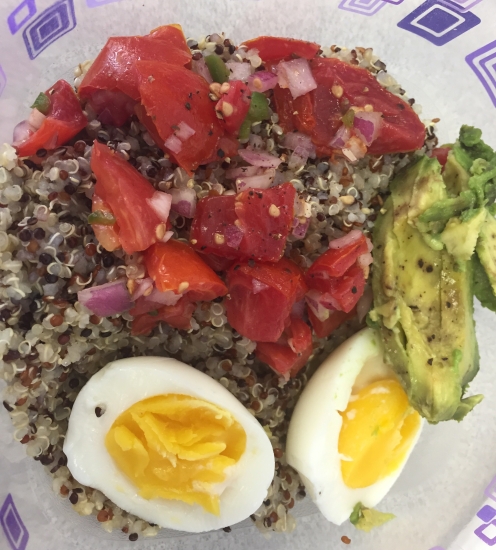
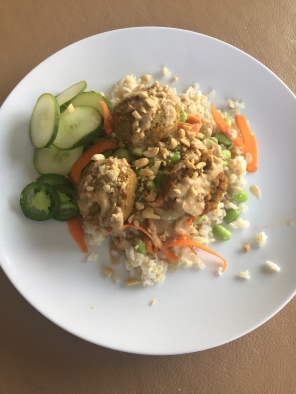
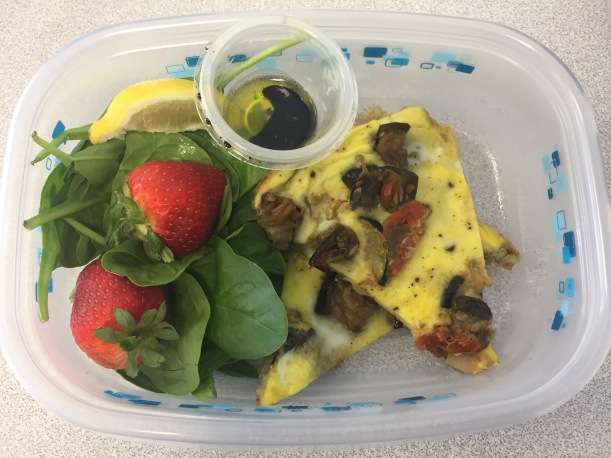
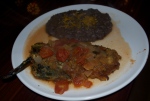
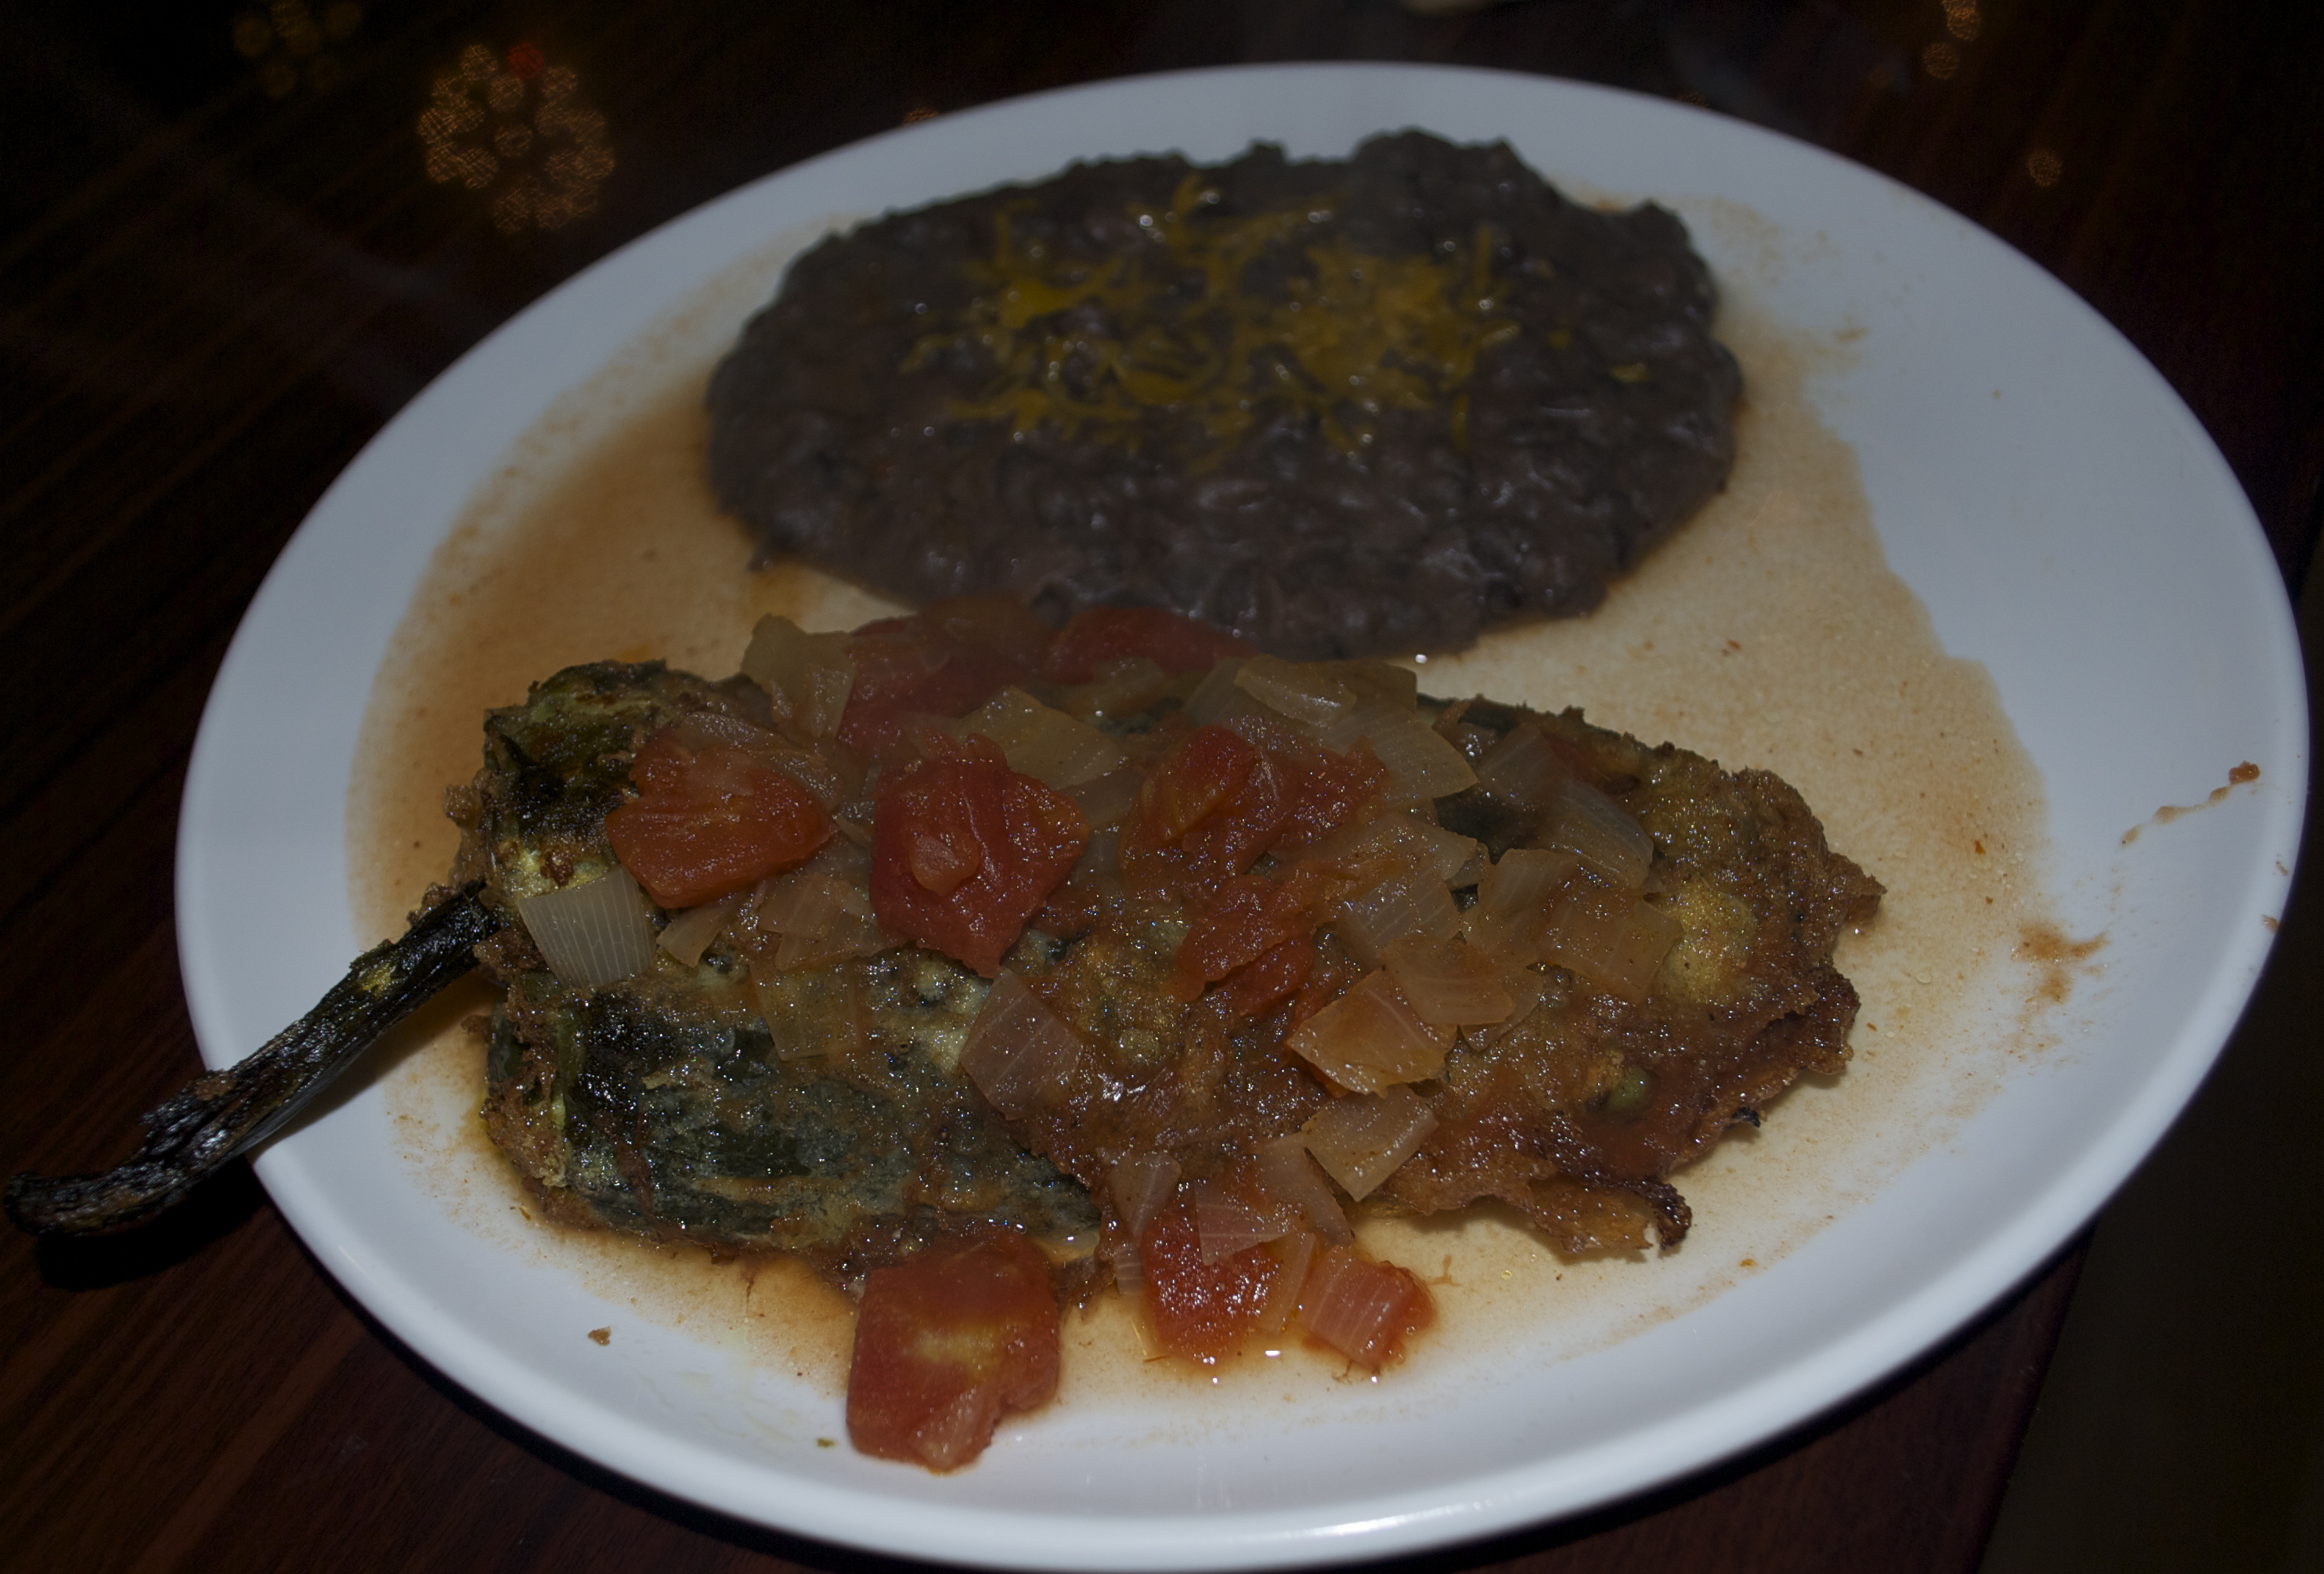
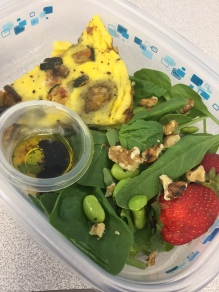
Lunch – Frittata with Spinach Salad
Prep time: I prepped my lunch the night before to bring to work with me – but I did microwave the frittata at work for 1 minute.
Repeat meal – womp womp…
I did add some walnuts and edamame this time to add something to my salad- these were good additions. Otherwise I can’t say much else new here. The frittata did still taste good, and it was still an enjoyable lunch. I just wasn’t as excited about it since I had it Monday too.
What I would change: I understand repeating the frittata but it would have been nice to at least swap the salad for something different.
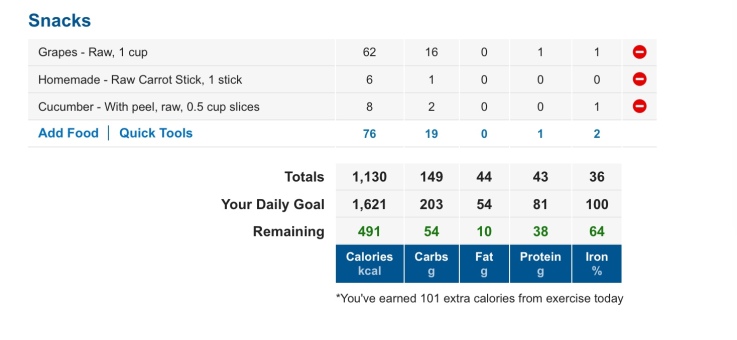
Snacks – I snacked on green grapes and walnuts today! And I had a glass of red wine while cooking so I added that to my snacks column.
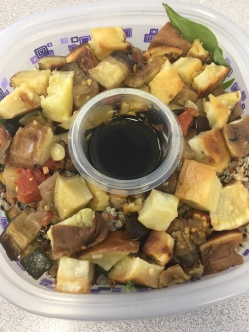
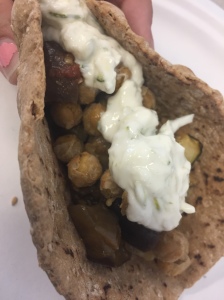
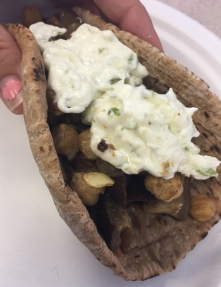
Dinner – Sweet Potato Veggie Tacos with Lime Crema
Prep time: Since I had to prep the sweet potatoes, pico de gallo and lime crema today before assembling my tacos, it took about 45-60 minutes. The tacos themselves only took about 5 minutes.
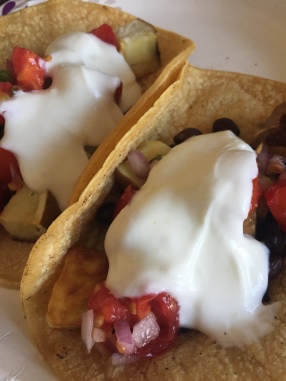
Taco night! Who doesn’t love a good taco? These did not disappoint. I was also amazed by how great the lime crema was! I love sour cream but this was a great, healthier substitute that I would make again! It also helped me forget that there was no cheese on my taco, where’s my mantra…. *it doesn’t need cheese*
What I would change: Prep took a long time, but luckily I had the time to do it. If this were a busier night, I would have wanted to do the prep the day before.
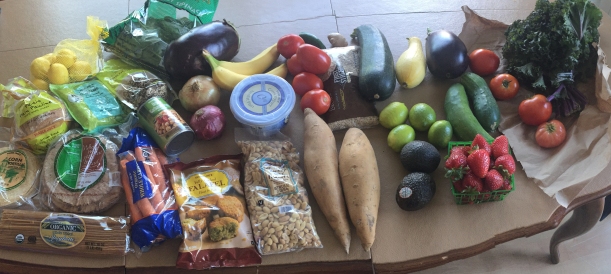
Meal Prep – Today I had to prep the sweet potatoes, pico de gallo, and the lime crema.
I started with the sweet potatoes since those took the longest. I used white sweet potatoes, since I was going off the list when shopping I didn’t realize they had used yellow ones. However, I think I prefer the white ones – they tend to be less sweet and better for savory dishes IMO.
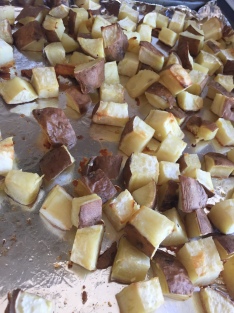
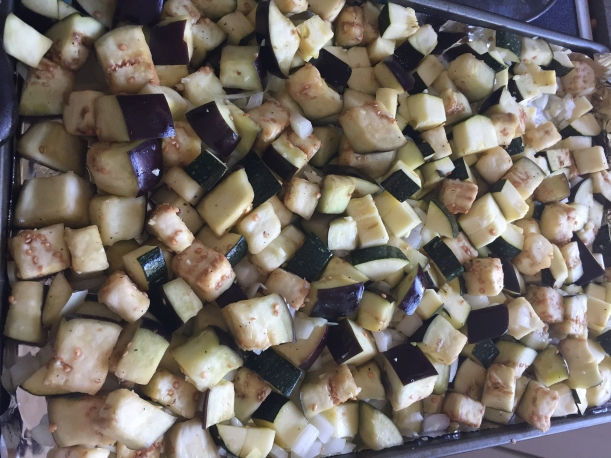
Sweet Potatoes
I wouldn’t have thought to add diced garlic to sweet potatoes – these smell amazing as they bake! I also am hoping that two large sweet potatoes is enough – the recipe called for 6 small ones but I bought large ones instead. Seems like I’ll have plenty for the 3 meals these will be used for.
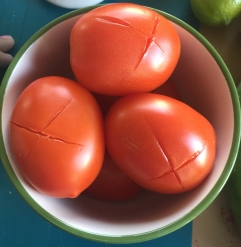
While the sweet potatoes were baking, I started in on the pico de gallo. I had some beautiful heirloom tomatoes from the farmers market ready for this – they were just starting to look on the softer side so I was glad that it was time to use them. I chopped them up into small chunks and then diced up some red onion.
I am sensitive to super acidic foods, like raw onion. So my favorite thing to do is soak diced red onion in chilled water for about 10-15 minutes. This takes some of the bite out of it. So I let the onion soak while I finished the rest.
I pulled out what was left of my jalapeño, like two-thirds was left. I cut about half of that off, de-seeded it and diced it up. Then I put it all together with diced garlic, lime juice, olive oil and some salt. I poured my red onion into my mesh strainer and patted it dry with a paper towel before adding it.
It looked bright, bold, and beautiful!
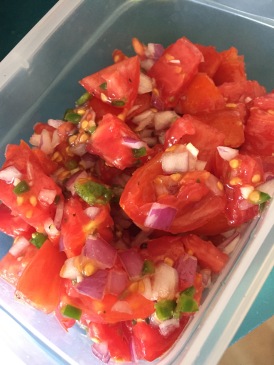
Pico De Gallo
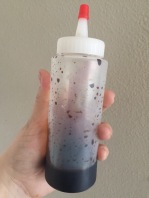
Last was the lime crema! This was super easy – just stir together greek yogurt, lime zest, salt, and lime juice. I tried it and it kind of reminded me of a creamy key lime pie yogurt and I wondered how it would taste frozen like a popsicle! (might have to try that sometime)
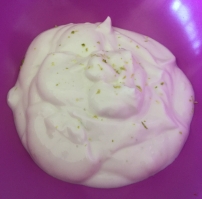
Lime Crema
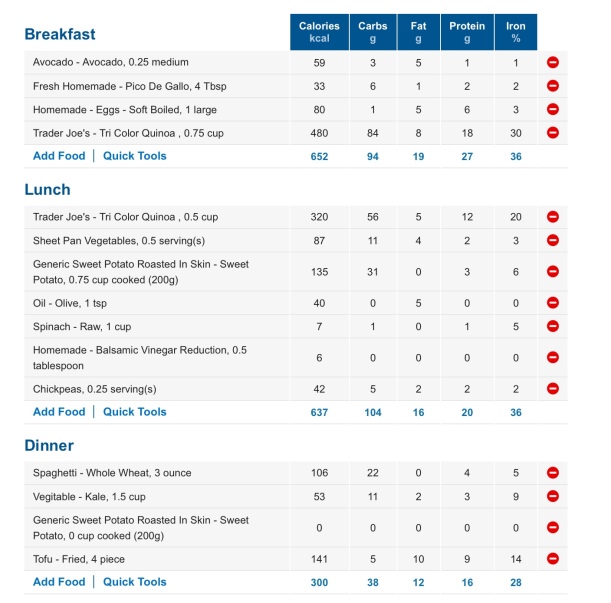
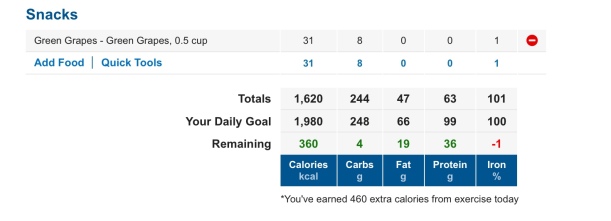
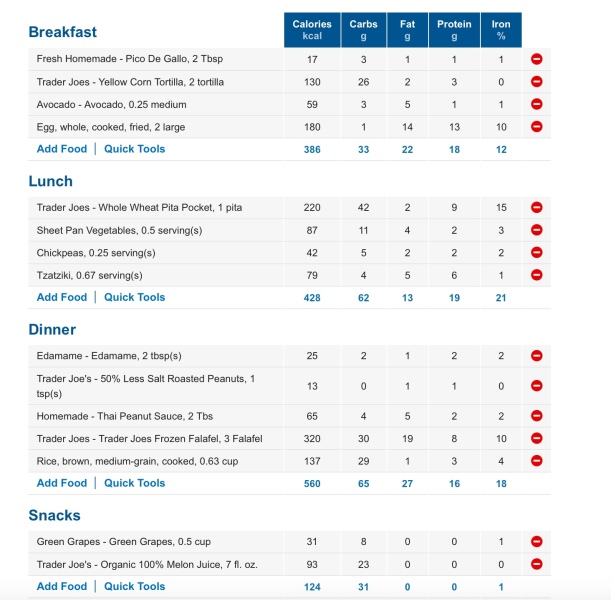
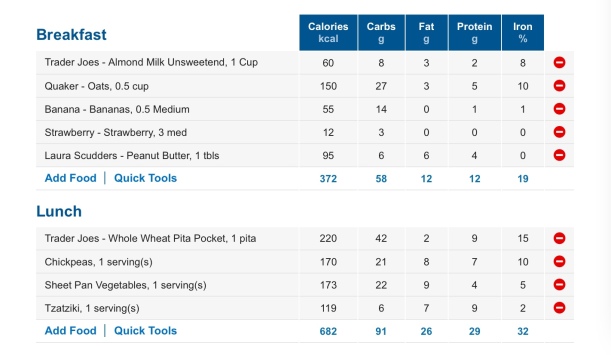
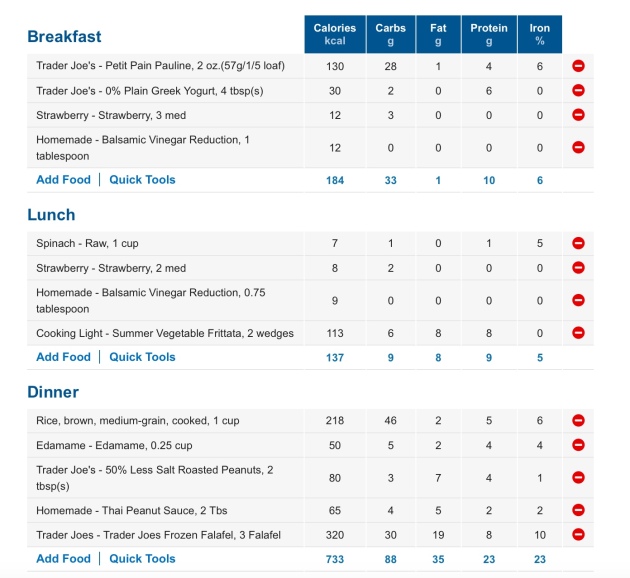
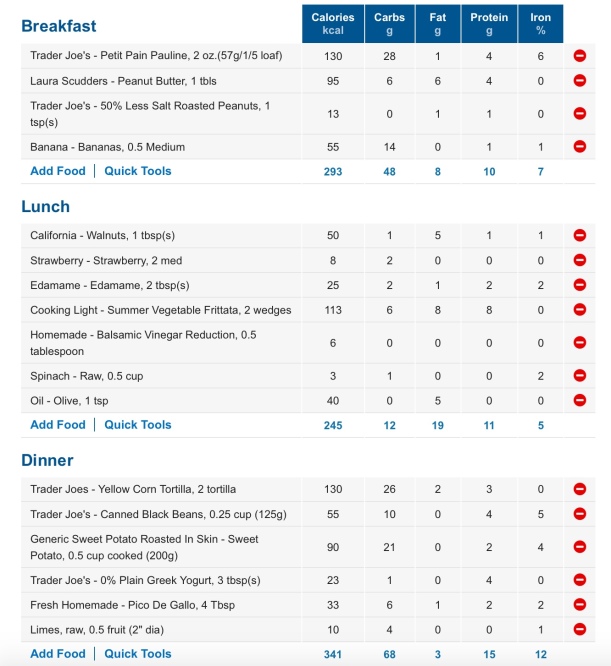
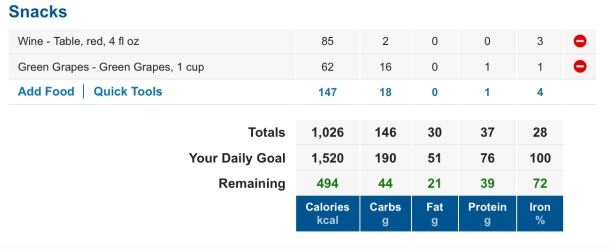
My Fitness Pal
I had almost 500 calories leftover! I thought I was going to snack more because we had some friends over in the evening for a birthday, so I purposely had two tacos instead of 3 to save some room. But I stayed strong and declined (once again!) my one true love: pizza. Luckily I went to bed before they pulled out the ice cream cake…. that would have been hard to decline!
SaveSaveSaveSave